CNC Magia Roja v1 – Engraver and 80W Laser
Author · Engineer
Desktop CNC with 27×34 cm working area; Arduino Uno + CNC Shield + A4988 + NEMA 17; supports rotary engraver and 80W laser; compatible with UGS, LaserGRBL, and LightBurn.
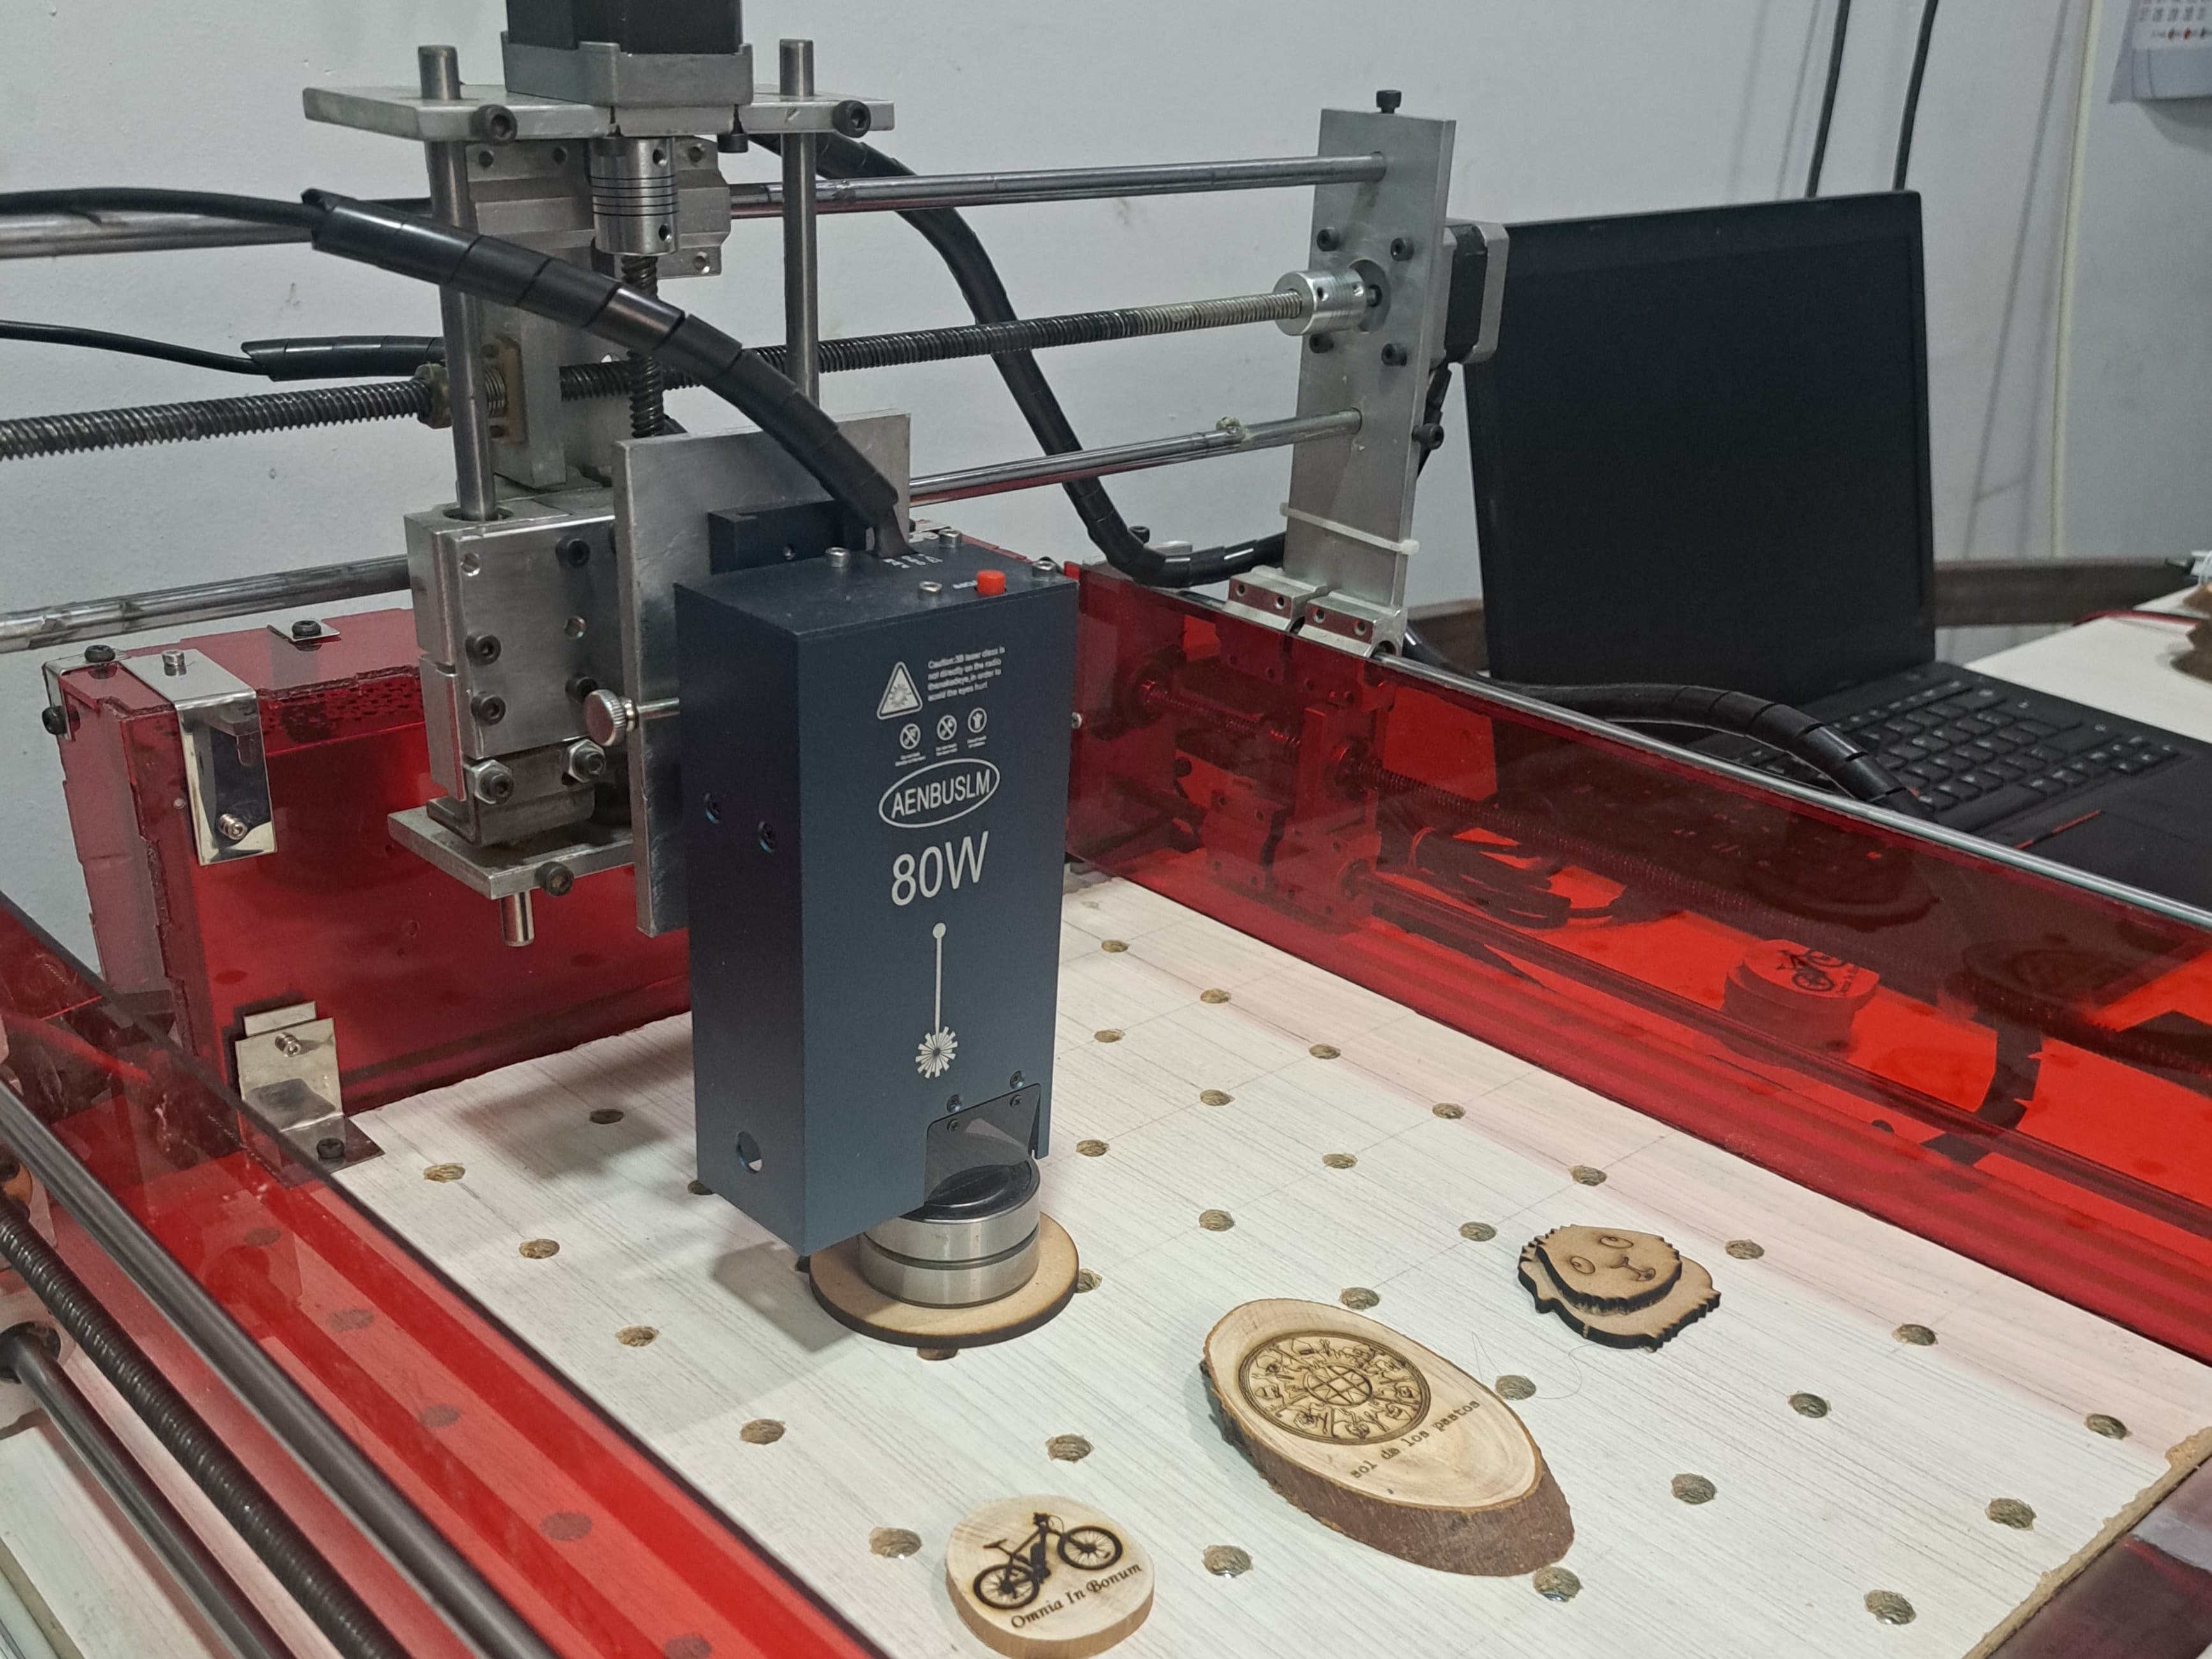
Impact
- Transformed a DIY wood-based CNC concept into a professional aluminum machine
- Upgraded to an 80W laser head with safety enclosures
- Operated >8 hours daily producing signage, art, and personalized items
Overview
This project is a compact CNC machine with a 27 × 34 cm working area. It supports two interchangeable tools: a rotary engraving motor and an 80W laser head for engraving and cutting. Control electronics are based on an Arduino Uno with a CNC Shield and A4988 stepper drivers driving NEMA 17 motors. It works with Universal G-code Sender (UGS), LaserGRBL, and LightBurn.
The project began as an experiment inspired by tutorials from Profe García, then evolved into a professional-grade, aluminum-structure CNC used in daily production.
My Contribution
- Designed and built the aluminum frame with three axes and dual Y motors.
- Selected and integrated mechanics and electronics (Arduino Uno, CNC Shield V3, A4988, NEMA 17).
- Calibrated driver currents, configured accelerations, speeds, and vibration mitigation.
- Implemented a perforated worktable and designed custom clamps to secure parts.
- Upgraded the system with an 80W laser head and added acrylic safety guards.
- Organized and secured the full electronics layout for reliability and maintenance.
History
The idea started after watching tutorials from Profe García YouTube playlist:, where he showed how to build a homemade CNC machine. After following his process, we realized we could do it with higher quality, since we already had experience with mechanics. So we decided to build an aluminum structure, with three axes, where the Y-axis had a duplicated motor.
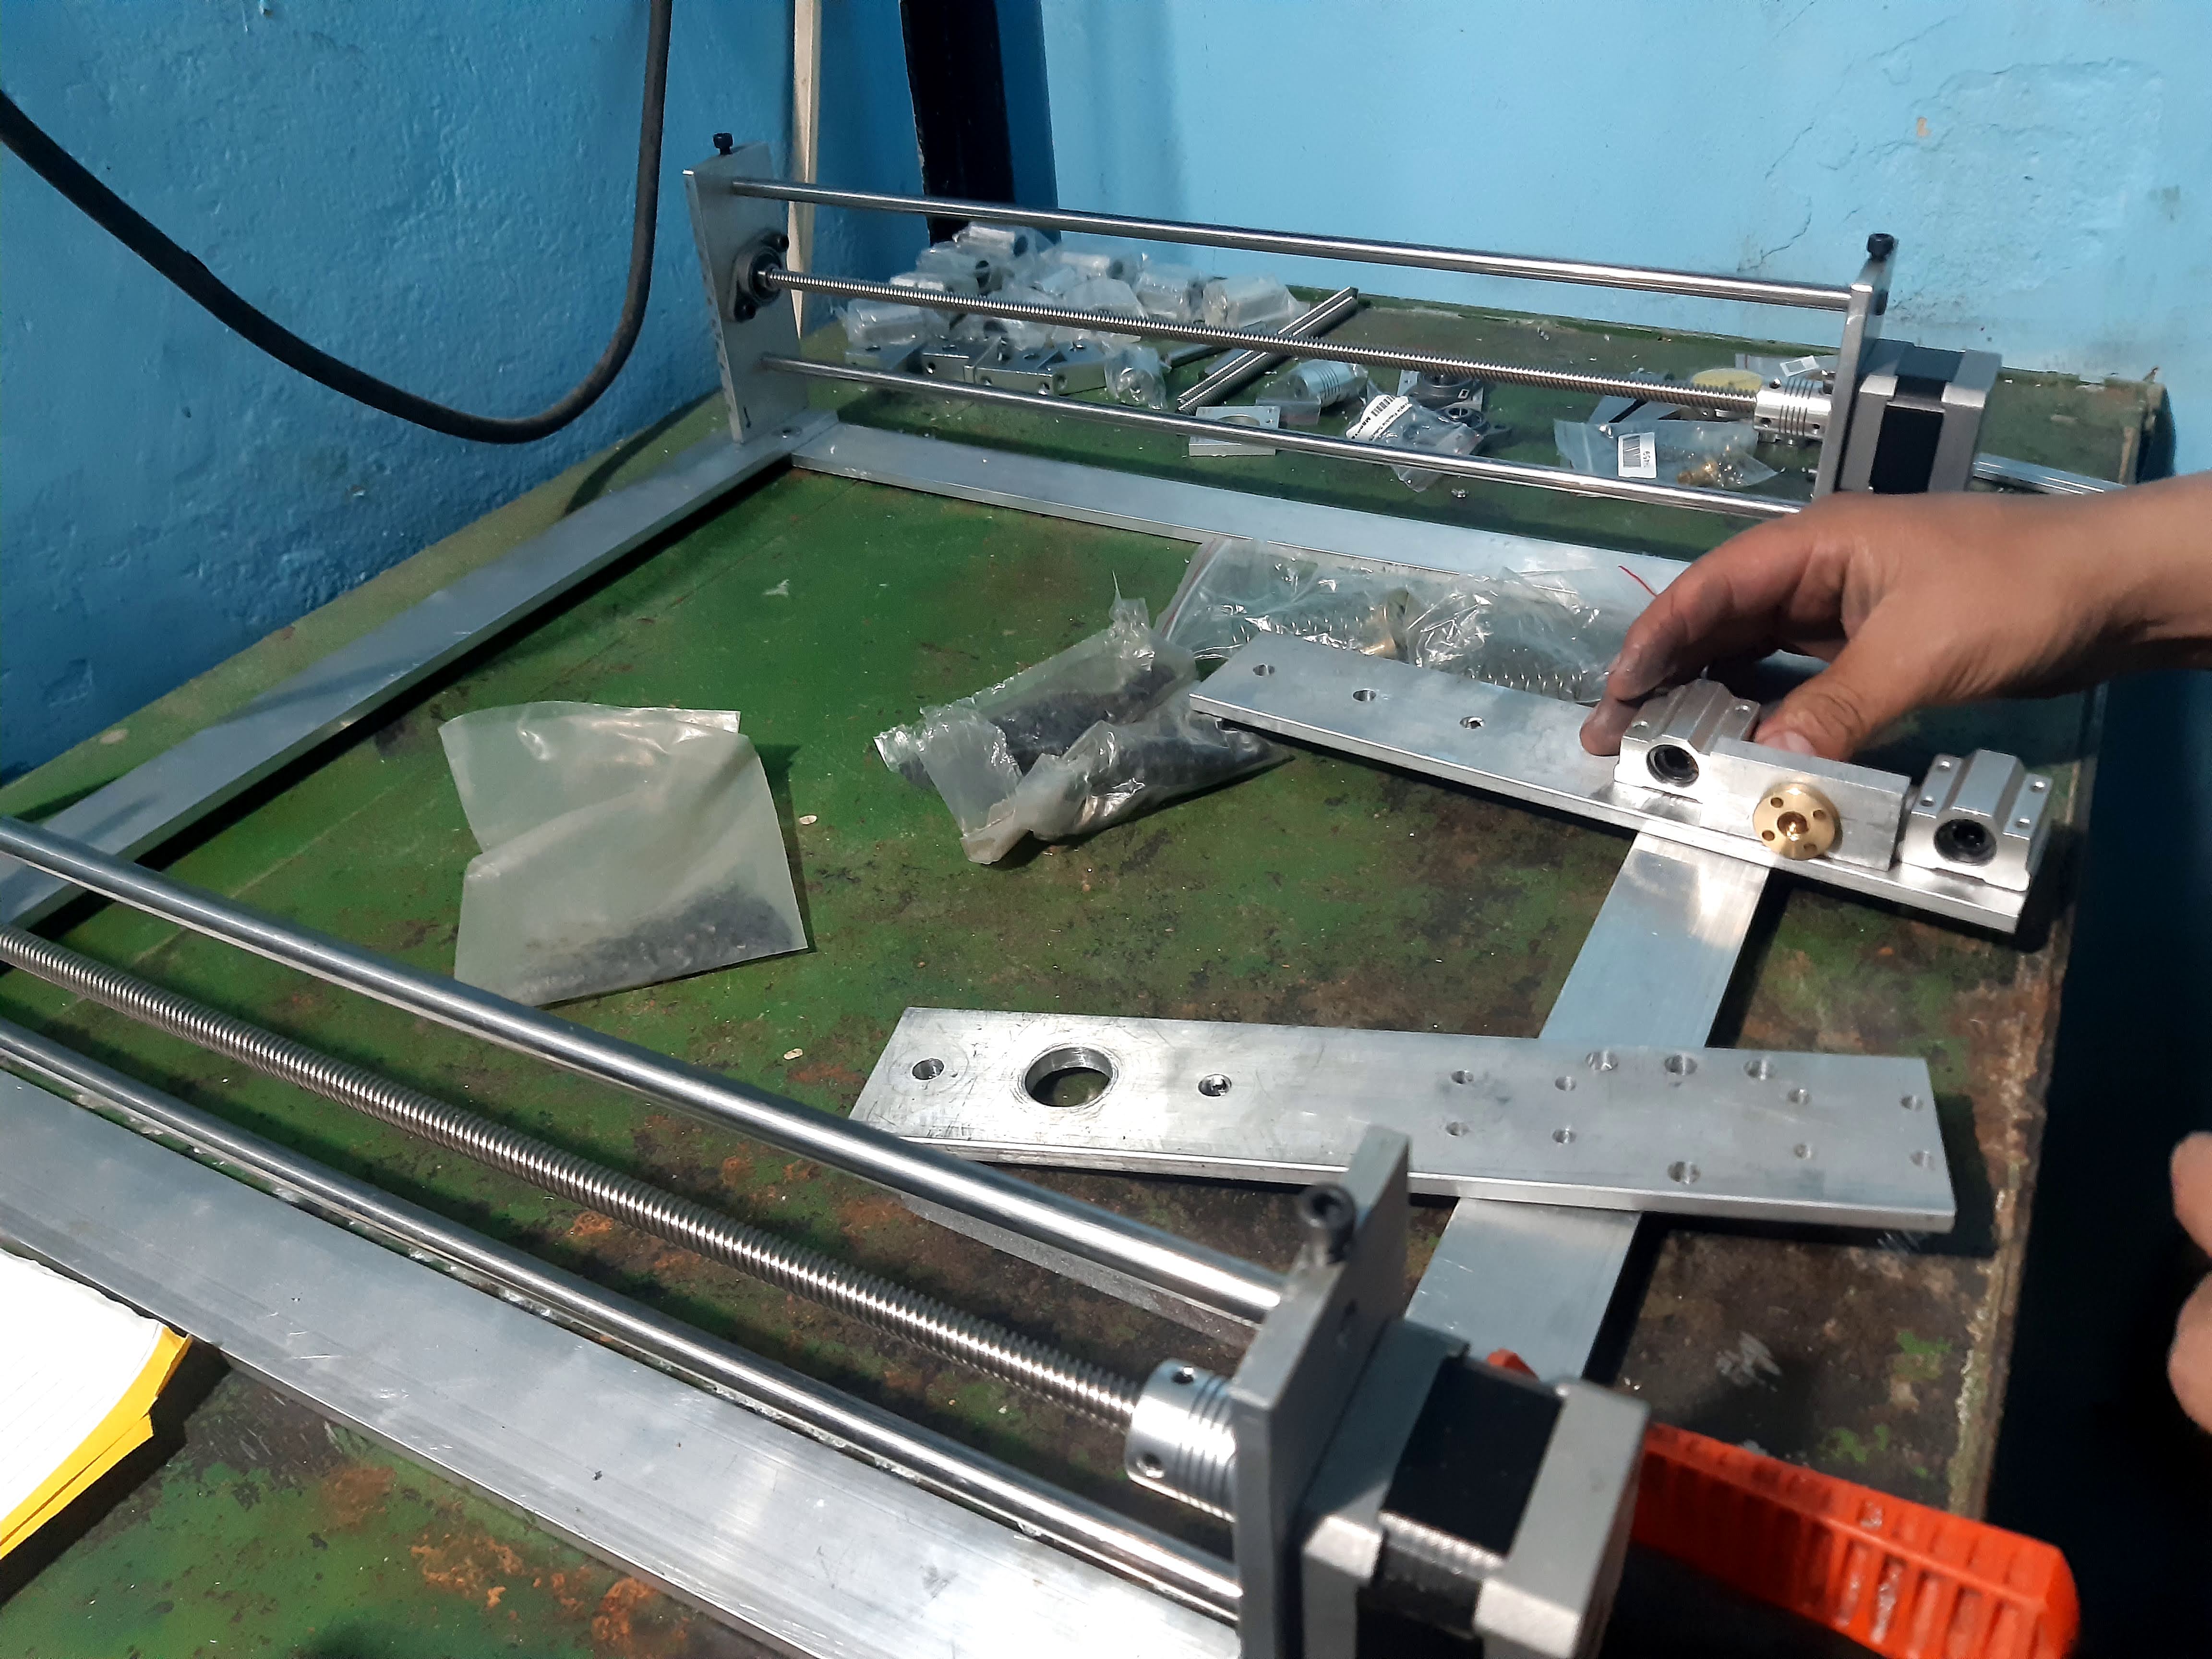
It was a challenge to get a precise structure. Because it was aluminum and not wood, tolerances were much lower and any deviation could make the axis movement rough. We also had to consider the weight of the engraving tool on the X-axis, which needed strong guides—so we added a double guide.
Since this was an engraving machine, unwanted movements, vibrations, or loose parts were not acceptable, especially with the cutting force of the tool against the material.
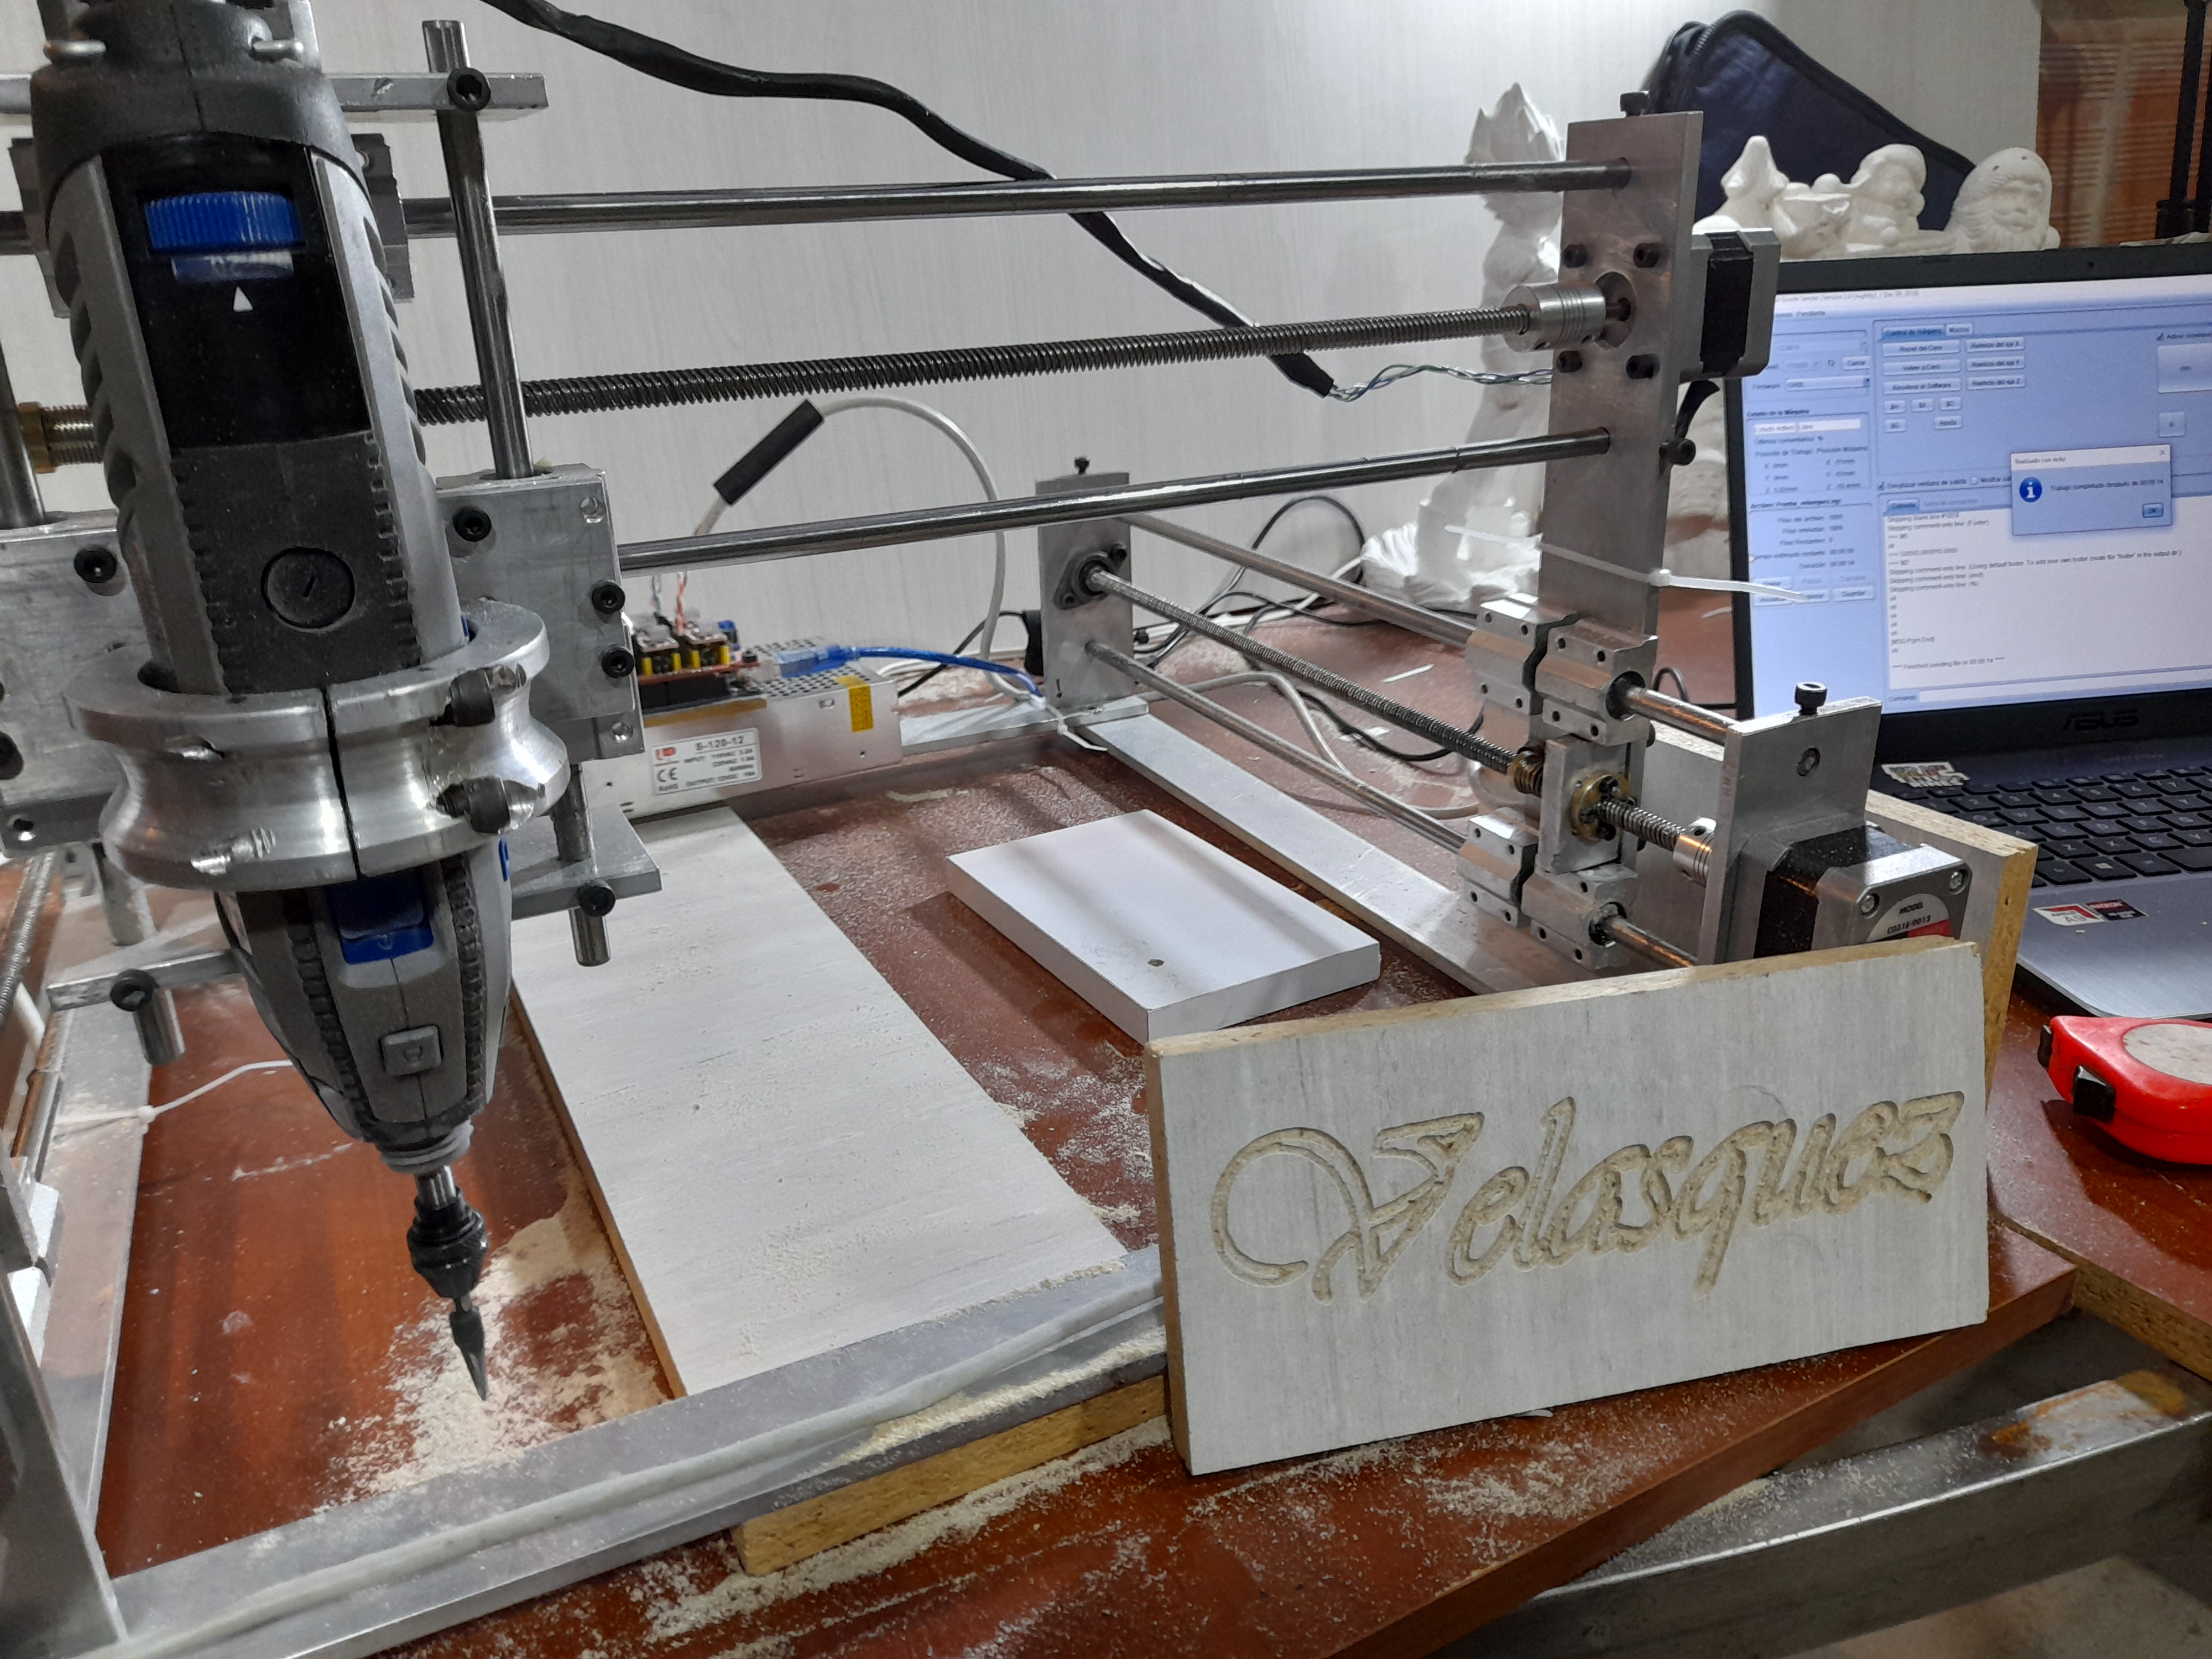
After wiring the cables, connecting the motors, and calibrating the driver currents, we started running tests: movement, engraving speeds, and first lessons with Universal G-code Sender. One of the biggest challenges was calibrating the drivers, configuring motor accelerations and speeds, and adjusting vibrations in the engraving tool.
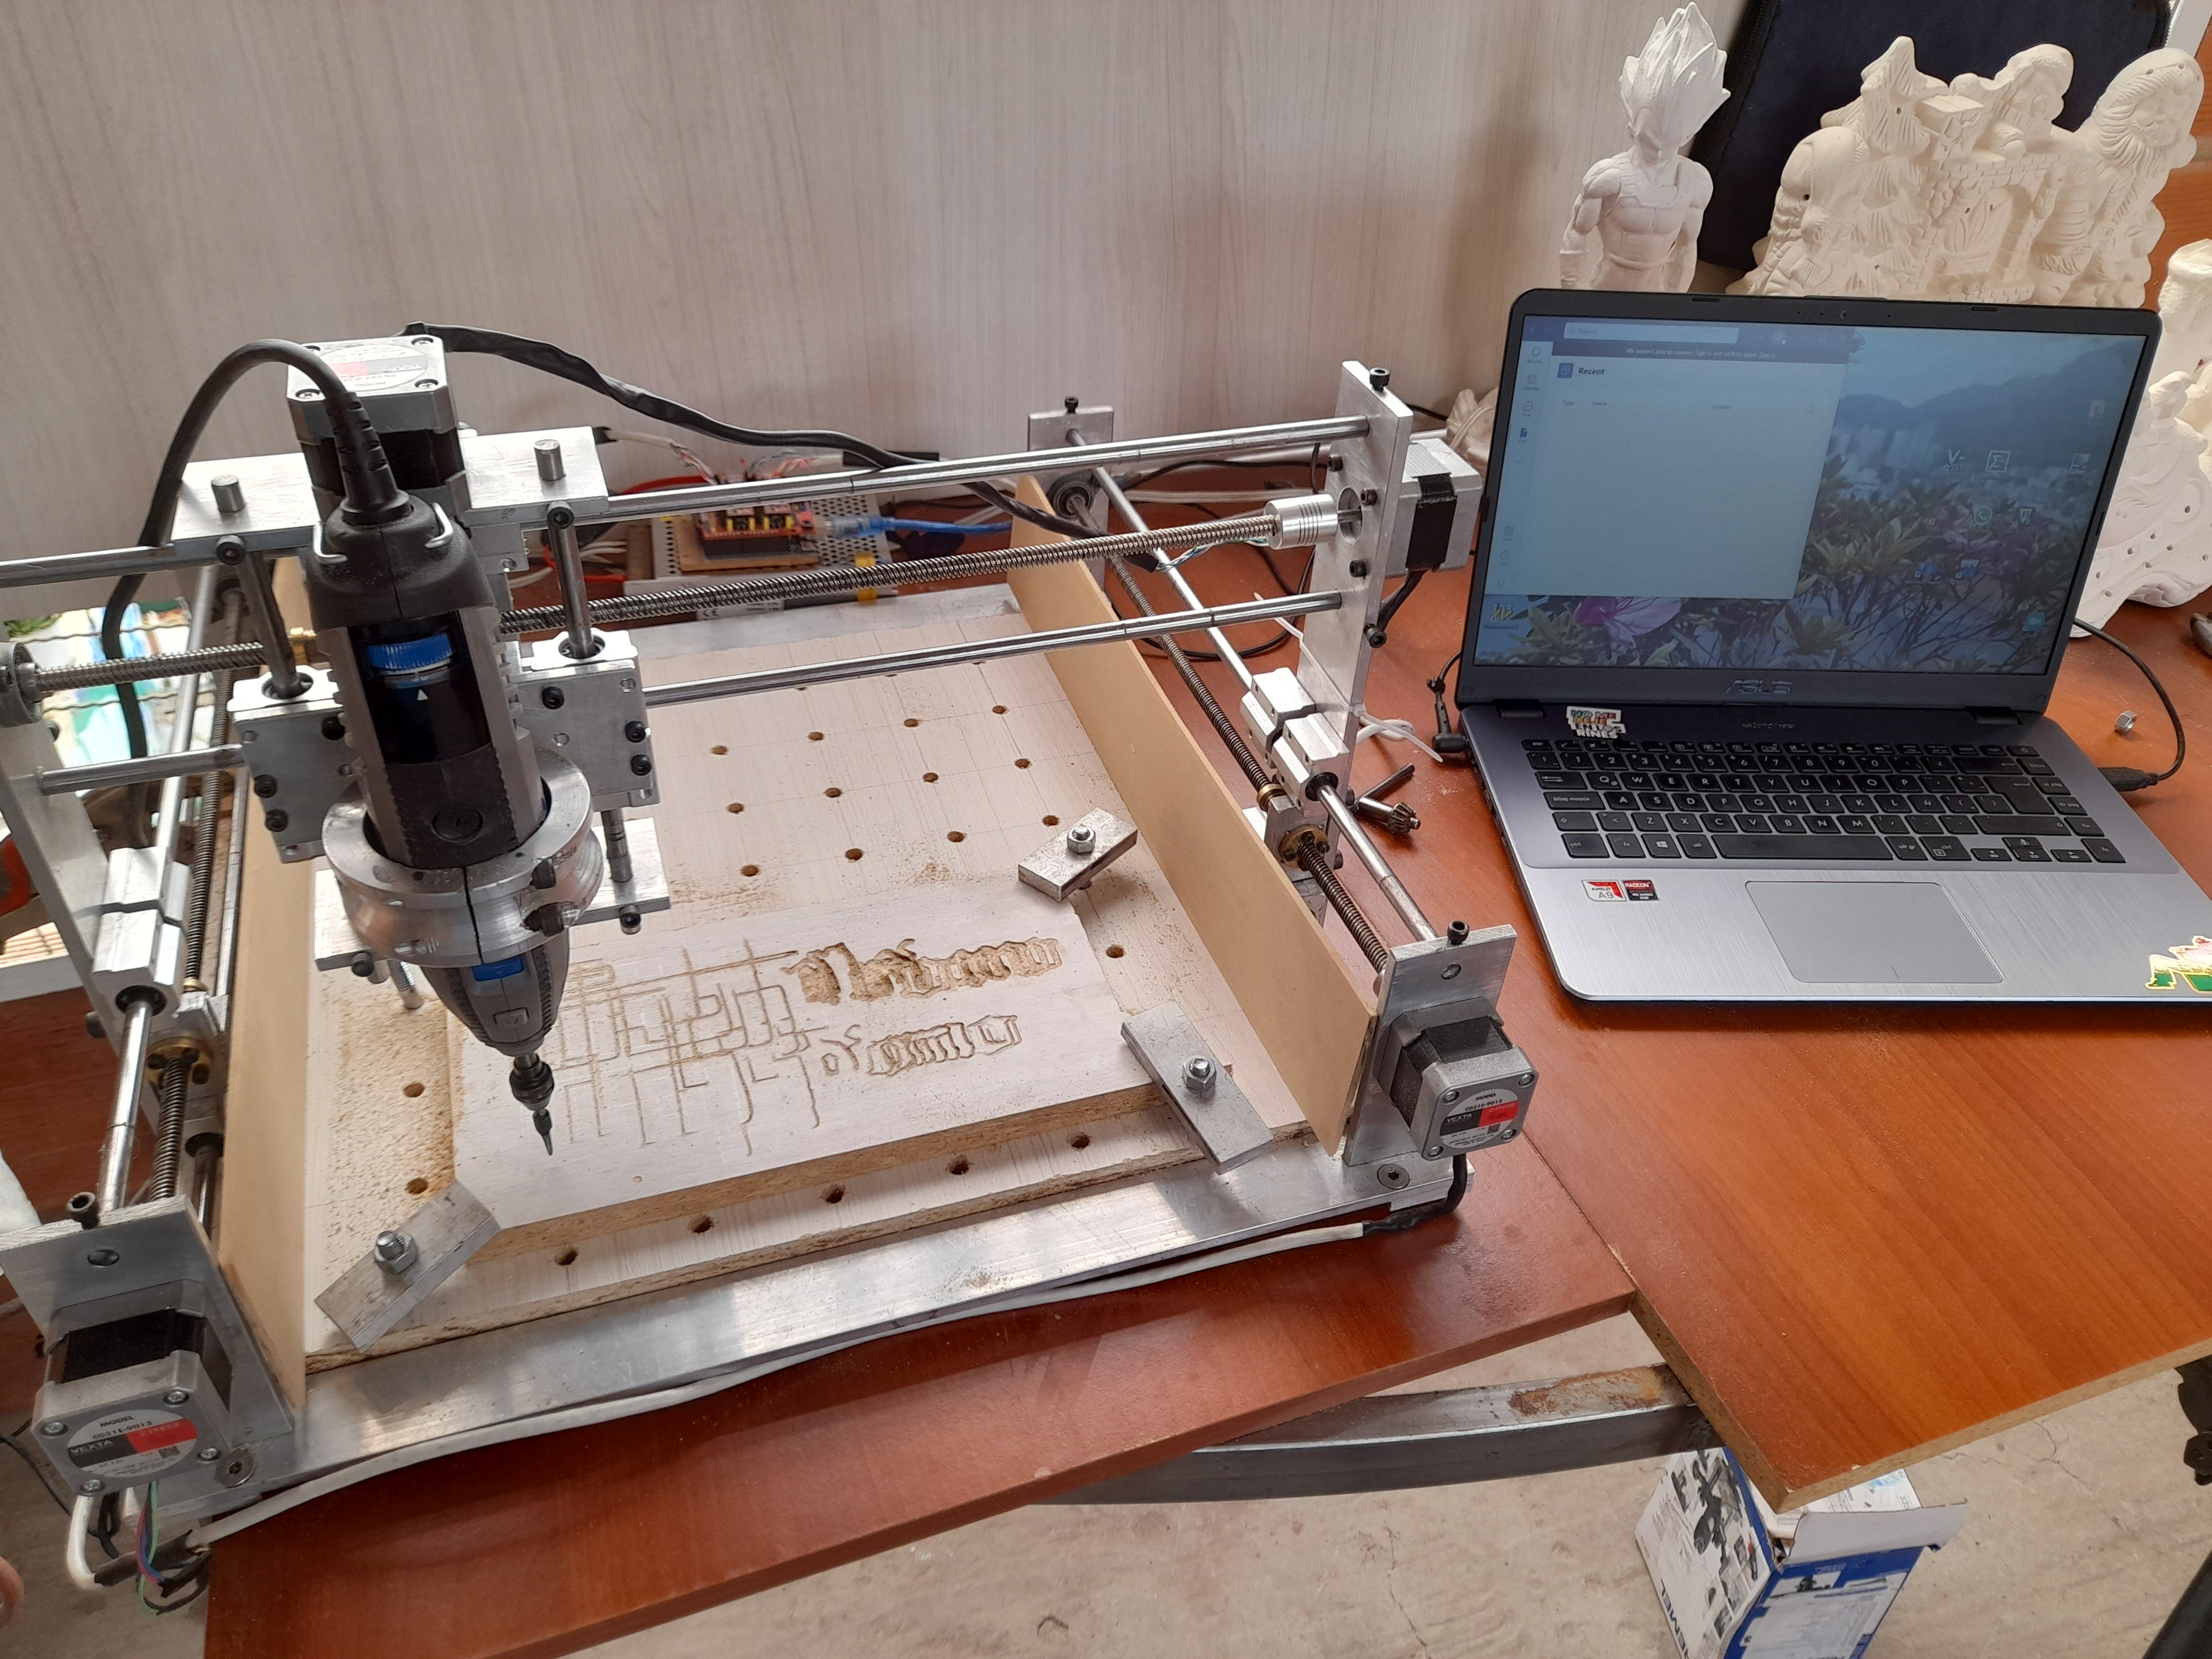
After many hours of testing, corrections, and learning, we reached a version we liked. The last step was making a worktable. For this, we used a board with multiple holes and designed clamps to hold the pieces for engraving.
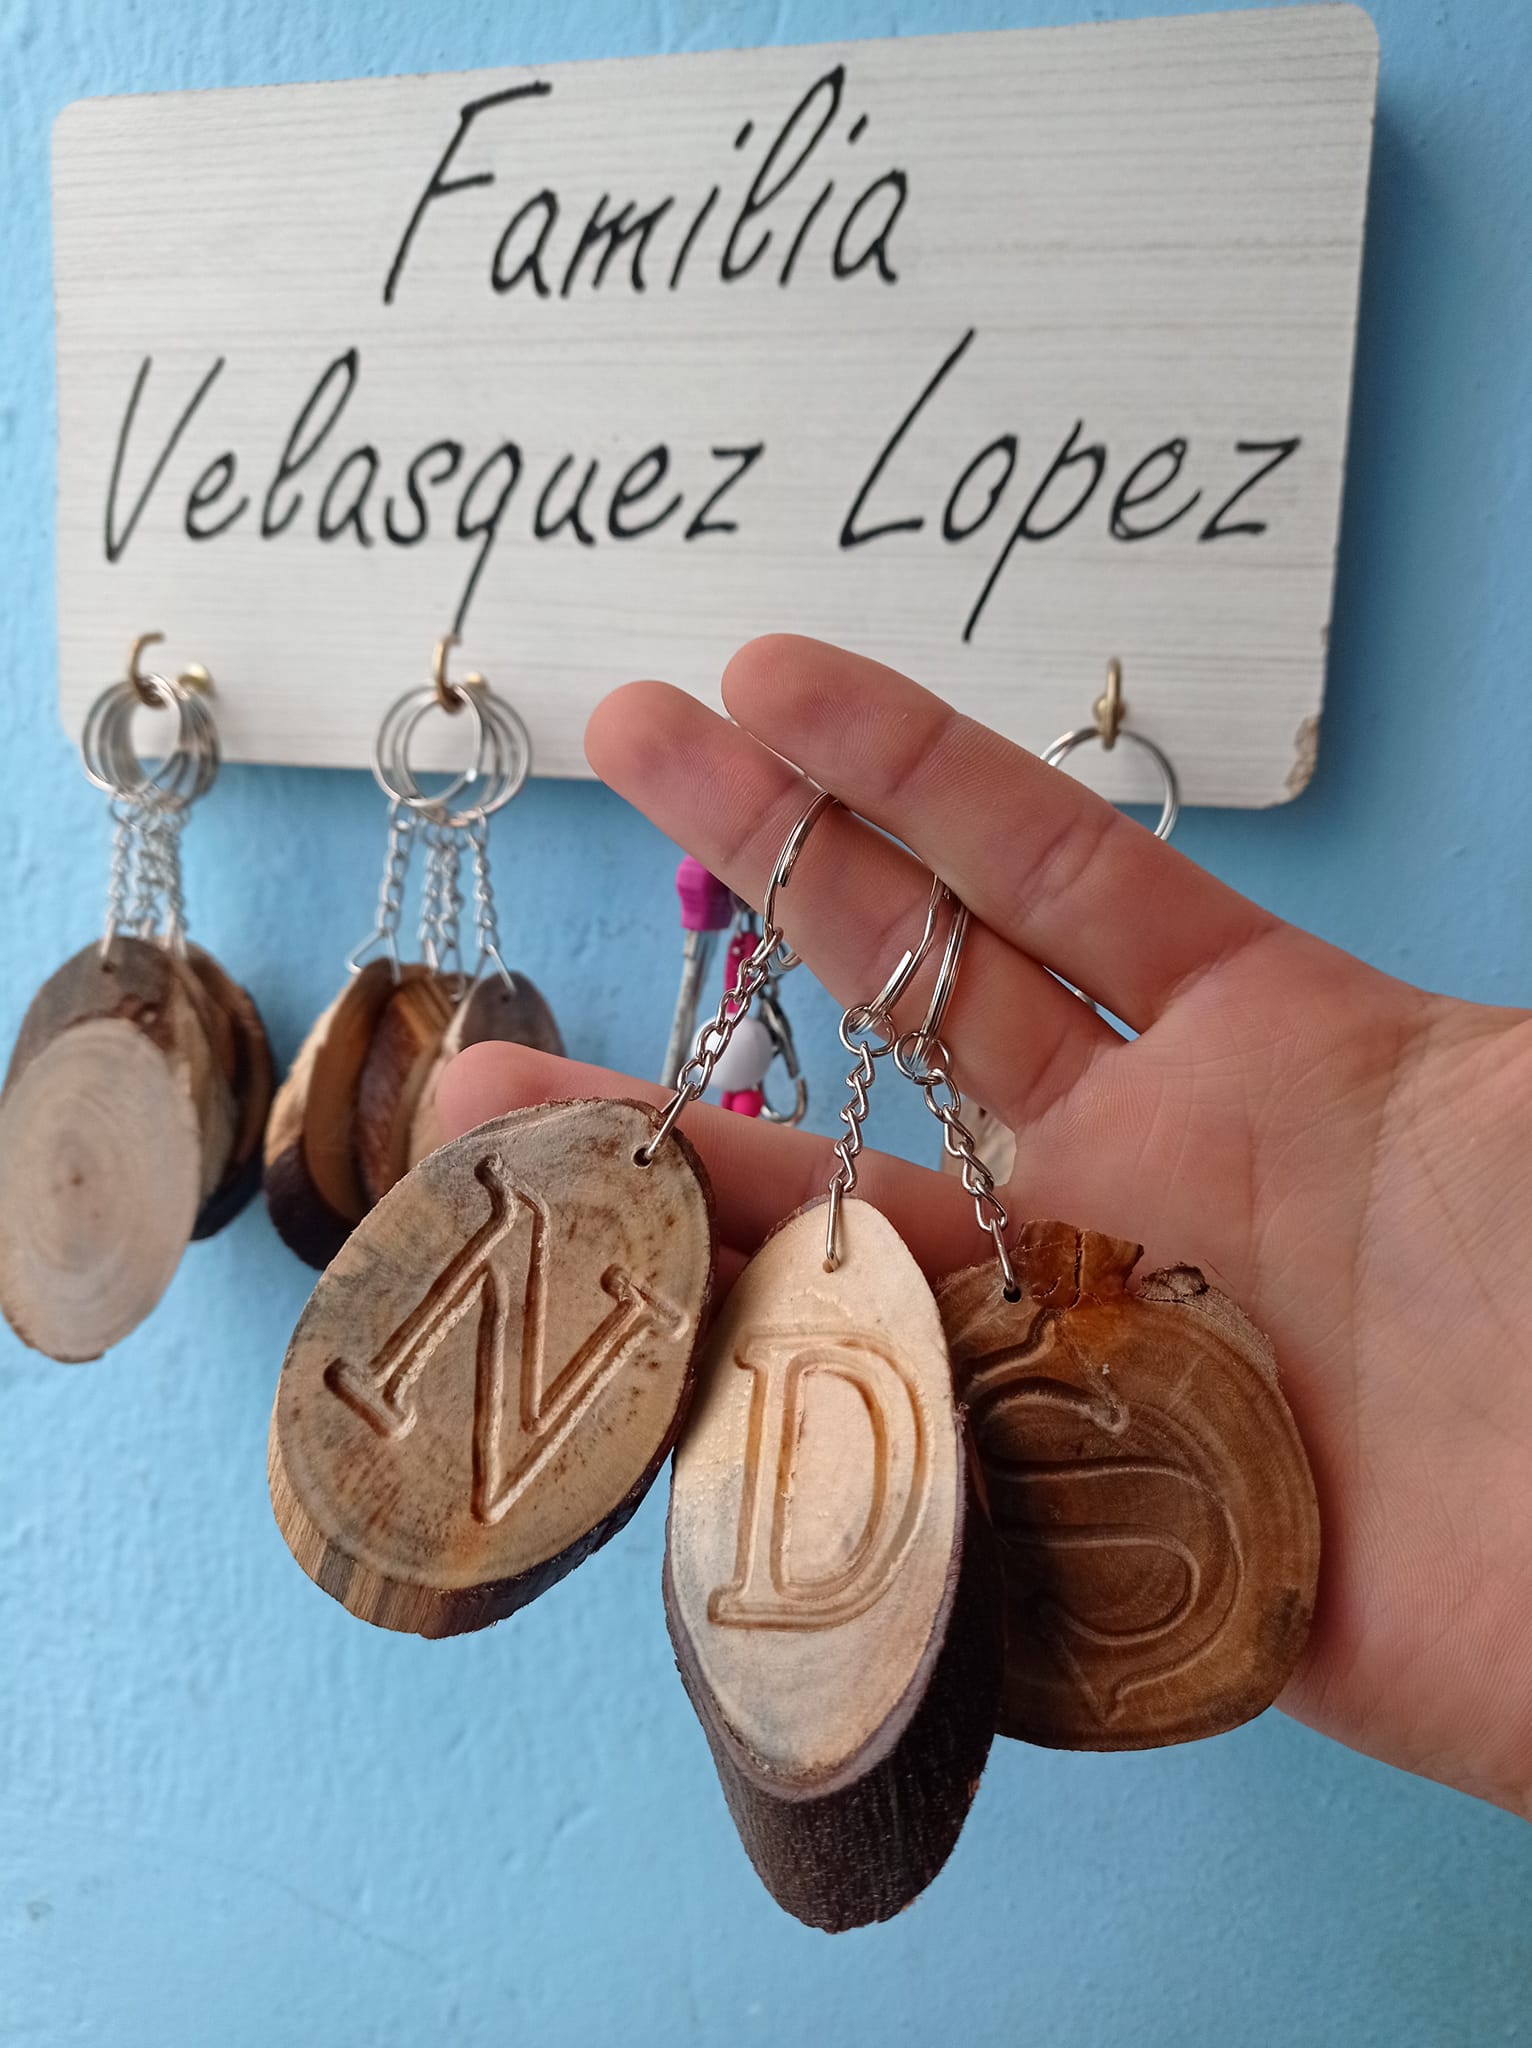
This was the first stage of the project, which took about 2 months. After that, we began creating different products: signs, advertisements, art, keychains, and more.
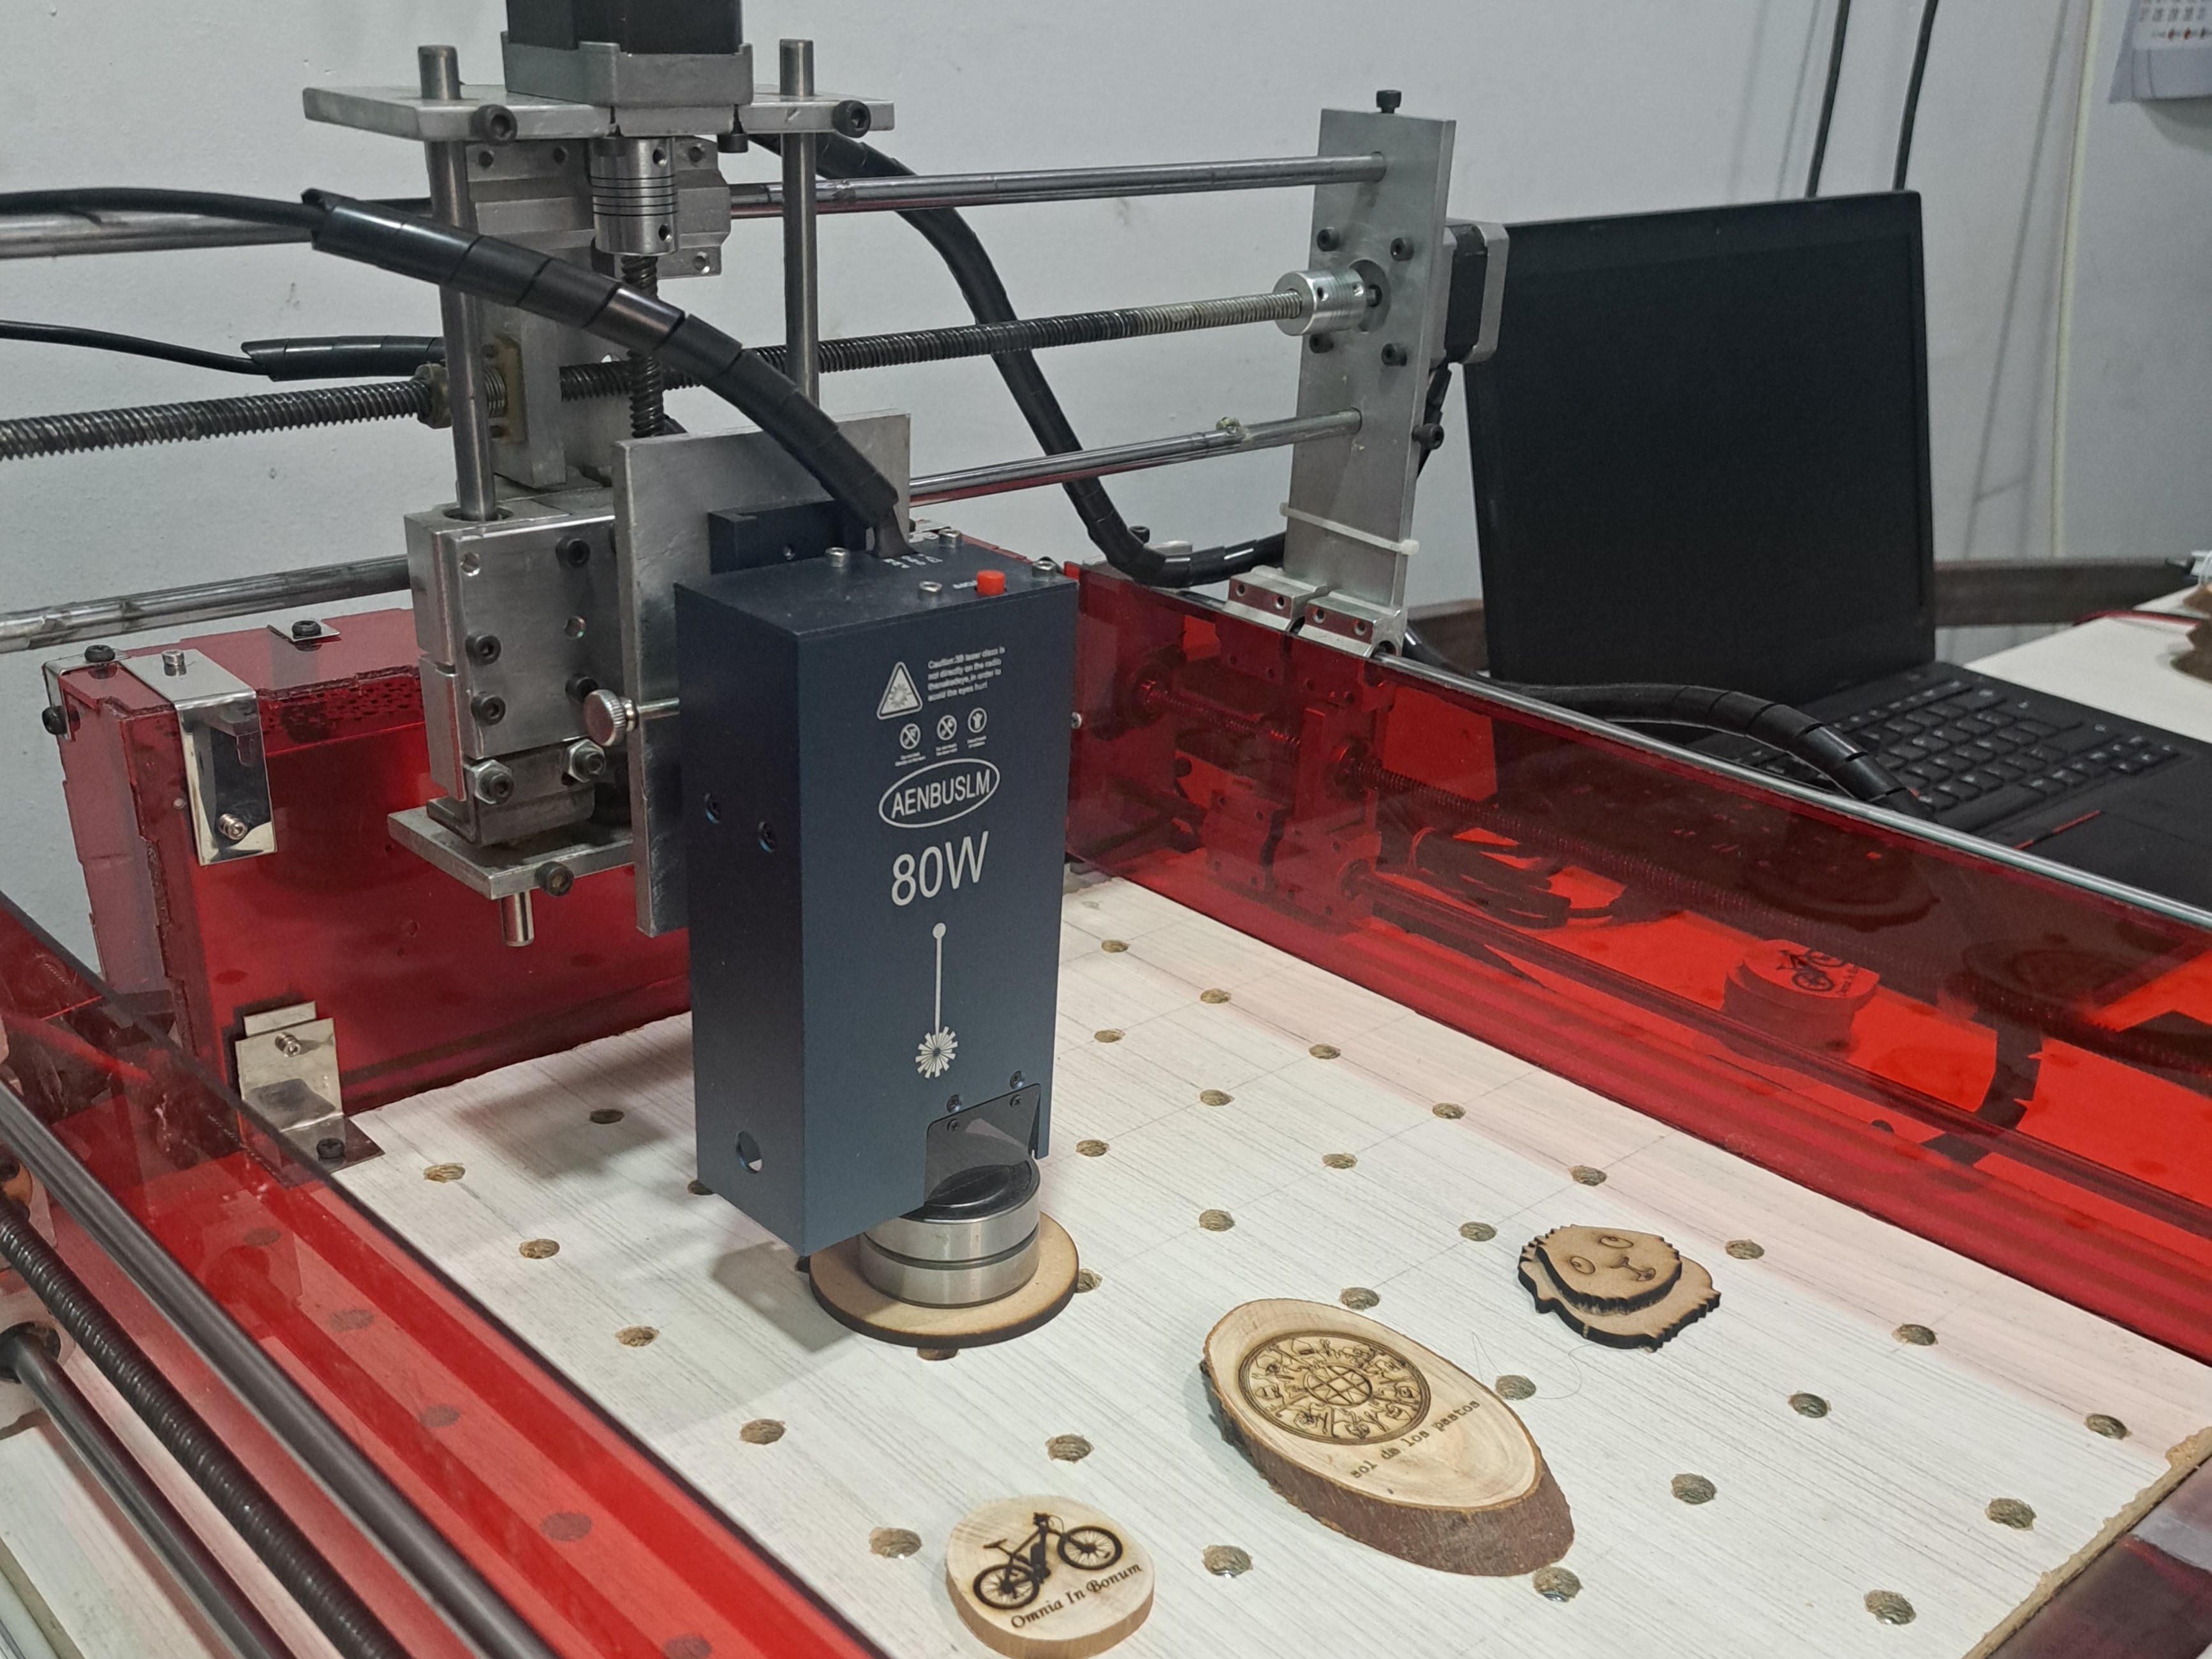
After a year of use, a client became interested in the machine and wanted to enable an 80W laser head. At that point, we turned the project into a professional product: we installed the laser, organized and secured the electronic components, and added acrylic guards (cut with the same machine) for safety.
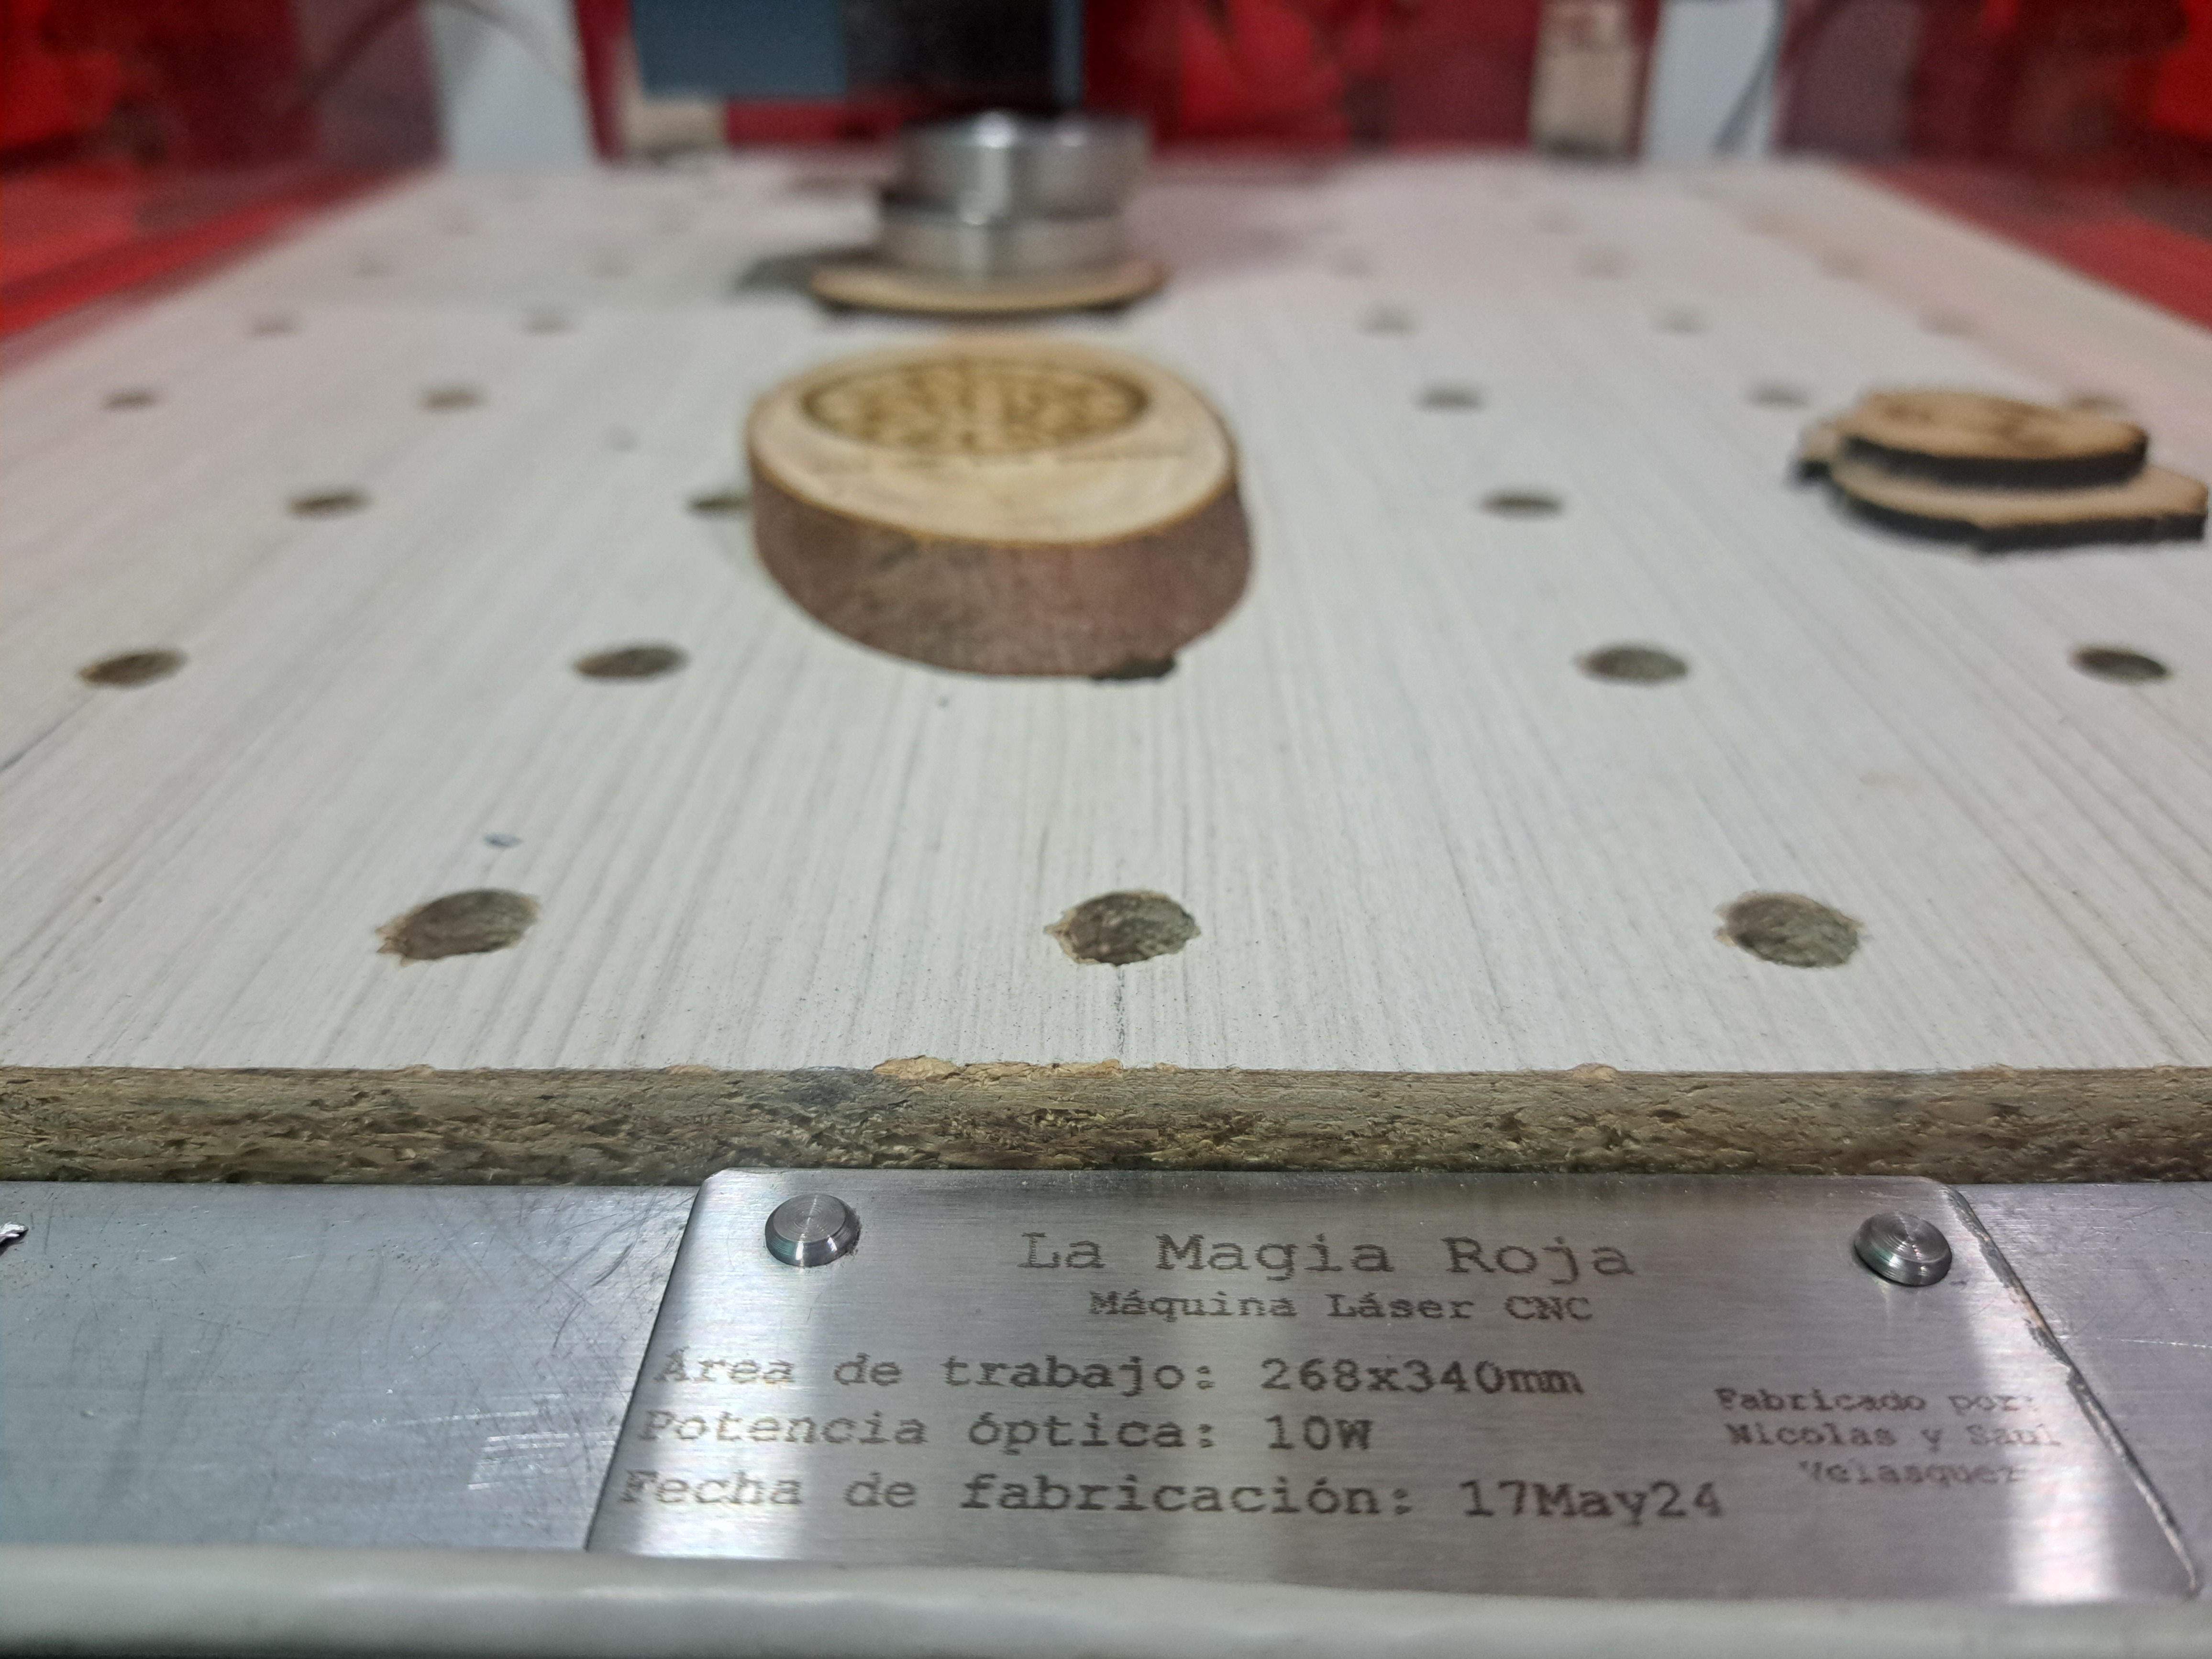
This is how we transformed a homemade YouTube project built in wood into a professional product. Today, the machine works more than 8 hours daily producing items like keepsakes, art, advertising pieces, personalized designs, and much more.
Architecture / Stack
- Motion control: Arduino Uno running GRBL on a CNC Shield V3 with A4988 drivers and NEMA 17 motors.
- Mechanics: Rigid aluminum structure; dual Y-axis drive; reinforced X-axis with double guide to carry the engraving tool.
- Tooling: Interchangeable rotary engraver head and 80W laser head.
- Software: Universal G-code Sender (UGS) for CNC operations; LaserGRBL and LightBurn for laser workflows.
- Workholding: Perforated table with custom clamps for flexible fixturing.
- Safety: Acrylic guards fabricated on the same machine to protect the work area.
Results
- Achieved smooth, precise motion with minimal vibration suitable for fine engraving.
- Established reliable daily operation (>8 hours) producing signage, art, advertising pieces, and personalized designs.
- Successfully transitioned from a tutorial-inspired prototype to a client-ready, professional product.
Thanks for reading! I am Nicolas Velasquez Lopez (@unmecaniko), passionate about knowledge and always giving my best in every project. If you have a big idea, a question, or just want to share something, feel free to reach out!
Gallery
Videos
Video demo – first version
Video demo – last version
Links
Stack
Tags
Last updated: 2025-09-09